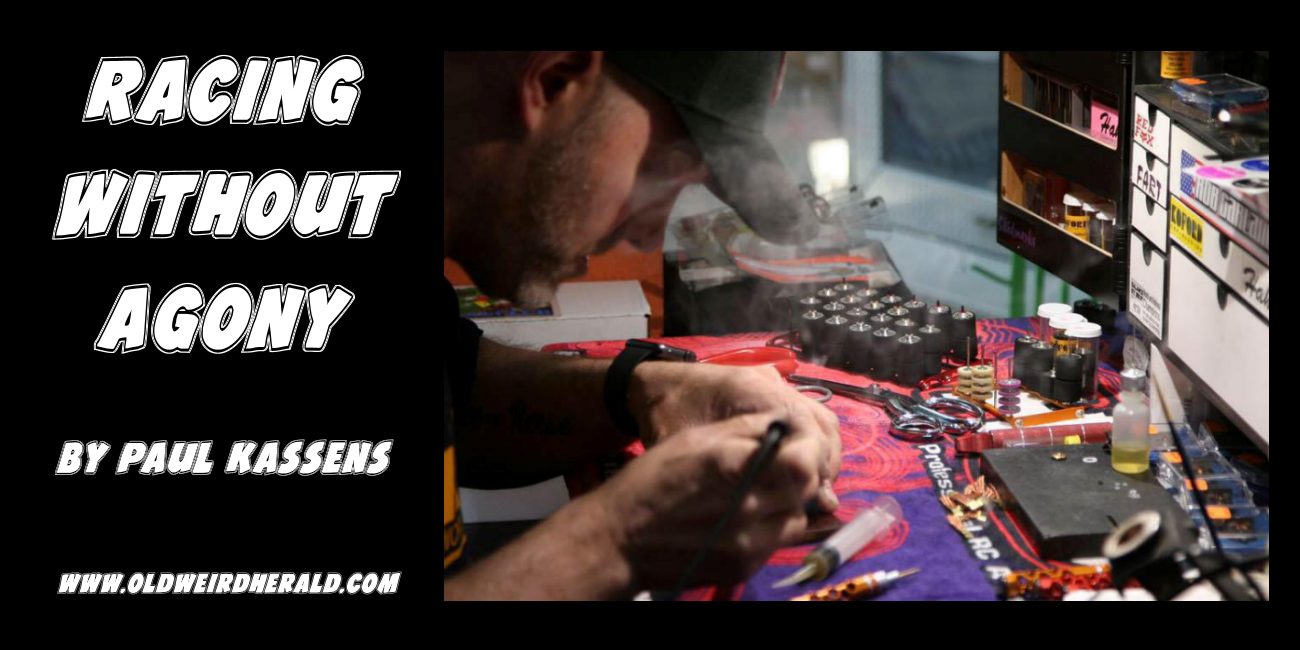
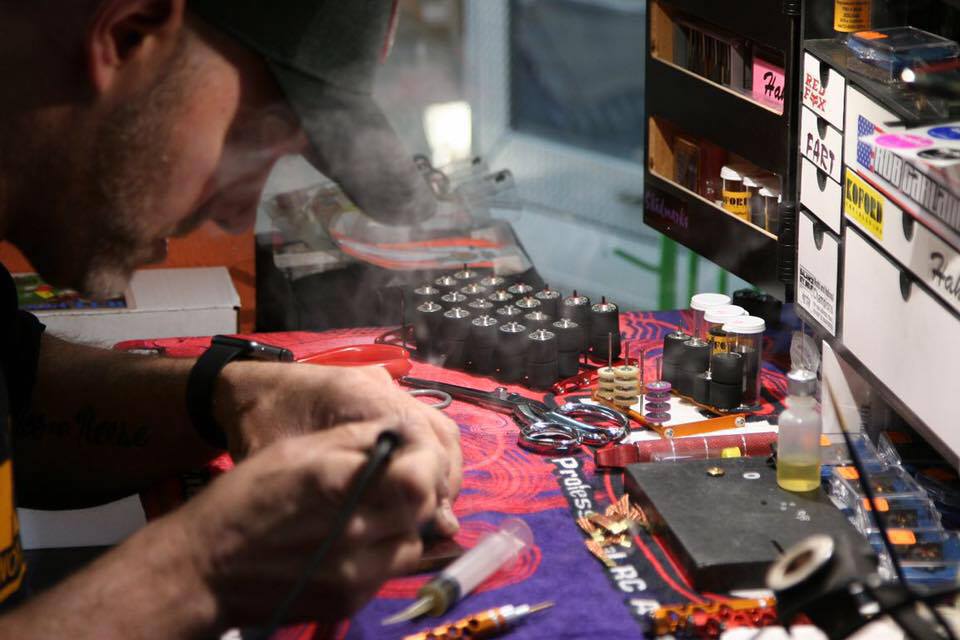
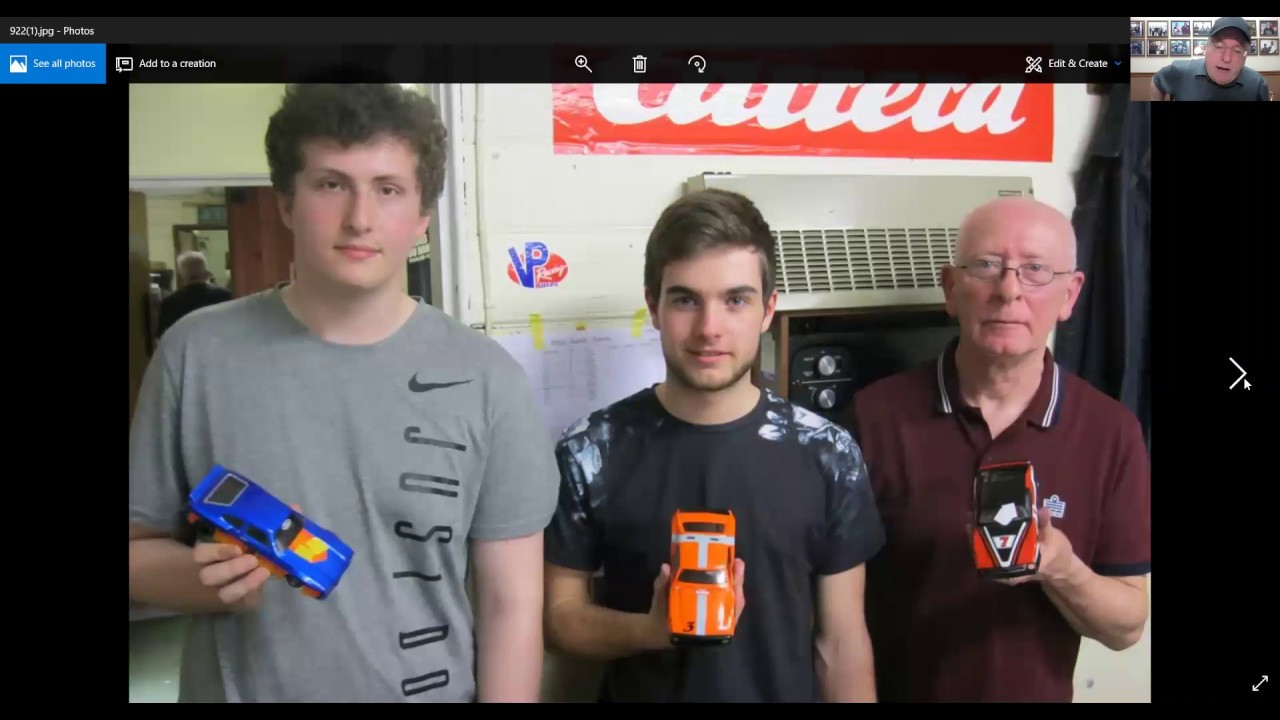
A well organized pit can help make the difference between a celebratory drink and drowning your sorrows.
Photo: Rob Garland during a pit stop between heats at the Worlds in Germany. – Photo credit ???
By Paul Kassens
Did you ever notice how 3 minutes seems like an eternity when your motor’s dying in the race, but that same amount of time passes oh-so- quickly while you’re desperately changing mills during the heat break?
Are you commonly heard to utter the words “Where’s my Allen wrench?”, or “I can’t find a pin!”, or worse yet, “Has anybody got a hot Unger?!?!”.
Do you look like Dagwood Bumstead, mowing down turn marshals, pit men, and innocent spectators, in your hasty dash for the control panel as the power goes on at the beginning of each heat? Well, I know I do!
For those of you who would rather avoid these kind of agonizing unpleasantries and are tired of drinking Maalox on the sidelines during the main event, I’ve assembled some tips and hints that can help towards a more organized and less disastrous slot car racing endeavor.
Some of the following will only apply to “wing car” racing on high powered tracks. For those who avoid this slightly more masochistic form of self abuse and stick to the “scale” type racing, merely skip over any references to glue, air dams, etc., and half the references to changing mills & drinking Maalox.
The first step is in pre-race preparation. Prior to entering your car in the race, thoroughly inspect every component, from the guide to the rear tires to the body, for any signs of potential failure. This is assuming your car is “in the box” as the pros say, or ready to race. Since most mechanical problems can be prevented by careful attention to detail in preparing your car, let’s dwell briefly on the steps you should have taken prior to considering turning your beast over to the tech inspector.
The chassis should have been cleaned and checked for flatness and damage, and any necessary repairs made prior to reassembly.
A new body should be mounted and reinforced; or if used previously, air dams straightened or replaced and new strapping tape applied. Don’t forget to put in your driver! Take care that he doesn’t get hung up in the lead wires, as premature ejection can be frustrating.
Motor should be assembled with a freshly reconditioned armature, new motor brushes, and decent condition shunt wire, springs, and pinion. If reusing a Group motor, carefully clean it without disassembling and inspect the commutator for signs of wear or discoloration. If in doubt- send it out….to your favorite rebalancing service. I’d much rather shell out the $4.00 and get it back like new then to wait too long and trash a $25-$80 armature (let alone spend the race in the pits changing fried motors)! All motor components should be checked for damage, shorts, alignment, tightness, etc.
Now for the tough part (at least for procrastinators like myself). All motors should be properly broken in on a power supply (3 volts for Opens, 5 volts for Group 15 or 27 for approx. 20 minutes) and checked for heat, current draw, commutator discoloration, funny noises, R.P.M., pitch, tone,…oh, you get the idea. Each motor should then be broken in on the track, in a car. Yes, fellow last minute thrashers, this rules out building your car during tech! Pick a lane that’s not bogged yet, as traction is your fragile virgin power plant’s worst enemy, and leave your red brake wire off to reduce commutator arcing. Theories vary on this, depending on track power, conditions, motor, and the fad of the week, but a common practice is to run it “choked” for around 5 minutes. Monitor the commutator closely during break-in for color and aroma. For tracks with “HOT” power, a choke is a necessary evil. Check with the local regular racers or the track owner if you’re not sure.
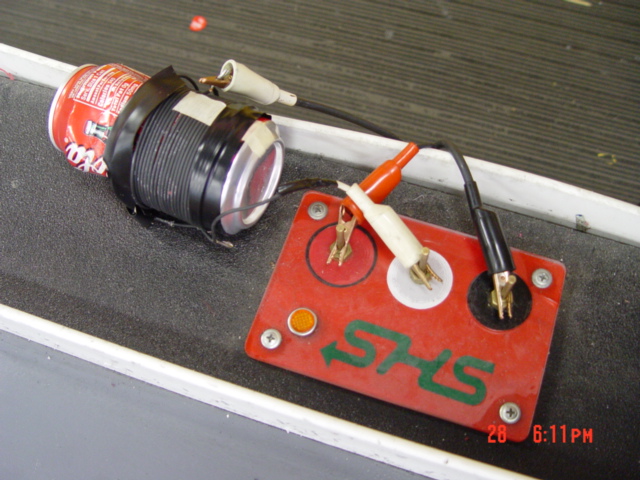
A “choke” can be made by taking about 12 to 20 feet of 16 gauge wire and wrapping it around a hunk of aluminum rod, tubing, or favorite empty beverage container. Leave stripped loops protruding every 3 feet and put a white hooded alligator clip on one end. The loops will provide tap points for varying the amount of “choke” desired.
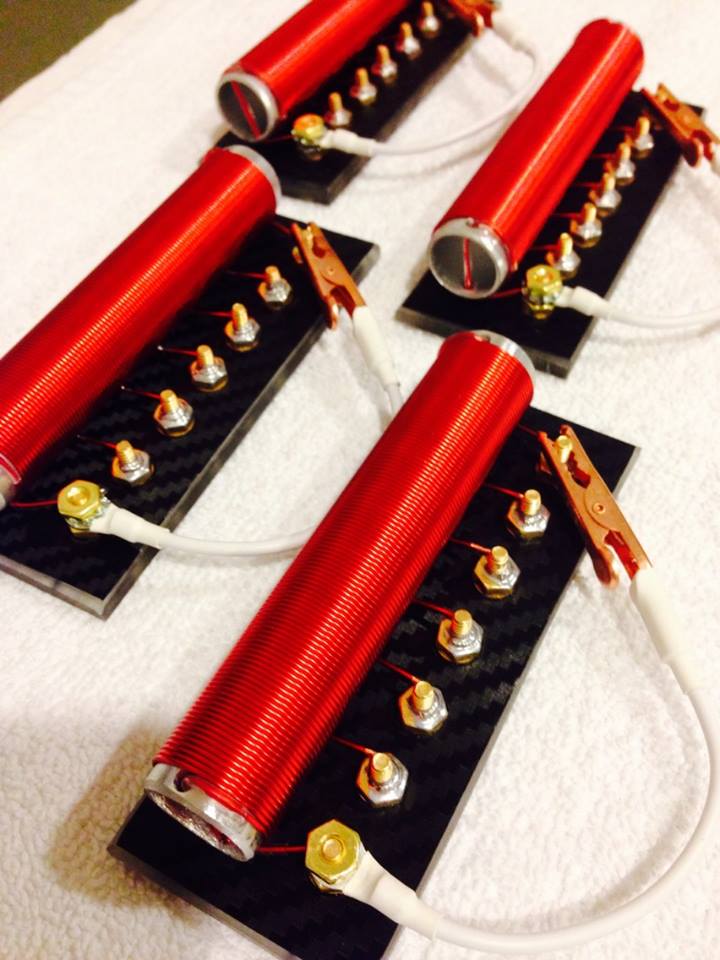
Simply hook the sucker up to the white track terminal and clip your white controller wire to the proper loop. For breaking in motors, use the full 20 feet. During the race, the trick is to find a happy medium between being double parked and barbecuing your best mill. This is also a good opportunity to pick your “batting order” of your motors, correct any handling quirks, and break in your qualifying and race tires.
Once satisfactorily broken in and tested, prepare your car for tech inspection with qualifying motor and tires, and a fresh pair of braid. You can now park your racer confidently “in the box” and patiently await the opening of tech. Upon entering your car, avoid mocking desperate souls who are still thrashing.
By now you should be scouting for potential pit crew recruits. Finding a compatible buddy to swap off pit duties with can be a mutually beneficial experience, and good teamwork can be a crucial factor in the race results of both parties involved.
If you’re an experienced racer, seek out aspiring newcomers in the lower classes in need of assistance. If you fall in the “aspiring newcomer” category, look for a seasoned veteran willing to share the benefits of his experience. Pairing up with a racer in the same class could prove to be redundant, as you usually end up racing against each other.
Now you can make a last minute check to make sure you’ve got everything ready to qualify (braid, controller, rag, glue, oil, etc…) and relax (or escape) for a while. Remember, there may be very few opportunities for time out, as you will be pitting for your partner, turn marshaling, and racing, so take a break when you can. Going all day at a big race without taking time out to eat or rest the nerves can really take it’s toll on you by the end of the day. But, be sure to return in time to help turn marshal!
When you’re “On Deck” (next up) to qualify, you should be near the control panel, controller in hand, ready to qualify. If the person ahead of you takes a “bye” for any reason, you will be up immediately, so pay attention! At this time you may pick up your car and straighten your braid if needed.
New Group 7 World Record G7 by Brad Friesner 1.286s
at AMDK Pilsen, Czech Republic – Jan 2018
Video by Jan Johnny Gotthardt
Many new racers are scared stiff of qualifying. Don’t feel alone… many experienced racers are scared stiff of qualifying! The combination of nervous anxiety and stage fright can do you in. Try to relax, and you’ll avoid the embarrassment of a puddle at the driver’s panel.
For qualifying group cars try to start out with minimum glue and just try to get a lap on the clock first. You can then progressively improve your times as the turn marshals add glue to suit you. If the conditions aren’t right, don’t be afraid to stop the car, tell the turn marshals exactly what you want changed, take a deep breath, and then go for it. After all, you’ve got two minutes and all you need is just one “Hot Lap”. If your car or the track (or the driver) are really bad, take a “bye”. You will get docked a thirty second penalty from your remaining time, but it gives you a chance to fix the problem and try again under improved (hopefully) conditions.
For open class cars, a method many pros use is to get a couple of mediocre laps on the clock first while “dialing in” the glue with around 6 to 9 feet of choke. You can then decrease the amount of choke and progressively better your time. If a potential T.Q. or world record is eminent; bypass the choke, request “more breaks everywhere”, yell “Gimme the charger!”, and uncork it for a lap or two. Upon first signs of smoke take a “bye”, change motors, and repeat the procedure. This last portion is not recommended unless you’ve got lots of motors, really think it’s worth it, and your raceway is well ventilated (smoldering armature epoxy fumes stink like hell!).
When you’re done qualifying, prepare (or repair) your car for the race. Check the motor and replace if necessary or desired and ditto for the tires and gear. Straighten out any wrinkles in the body and air control and check all chassis joints and repair as needed.
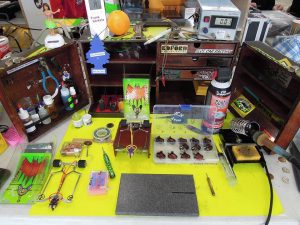
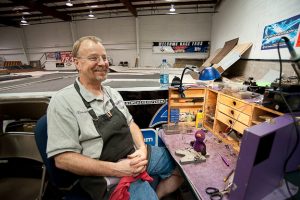
As race time approaches your pit space should be laid out ready for action. The following is a suggested list or items to have on hand:
Tools:
Allen Wrench
Guide Wrench
Braid Brush
Scissors
Stapler
Screwdriver
X-Acto Knife
Soldering Block
Soldering Iron
Dremel Moto-Tool
|
Supplies:
Rag
Oiler
Braid Cleaner
Tire Traction
Lane Stickers
Strapping Tape
Double Stick Tape
Rosin Core Solder w/paste
Silver Solder w/acid flux
Maalox (just in case)
|
Spare Parts:
Braid
Rear axle/gear assembly
Tires
Spacers
Guide w/lead wires
Motor(s)
Body pins
|
Spread everything out in an orderly manner and familiarize yourself and your partner with the whereabouts of essentials. Discuss each other’s responsibilities for during pit stops. As in the Indy 500, a well choreographed pit stop can make the difference between “The Thrill of Victory and The Agony of Defeat.”
If you and your partner are both experienced in the pits, it is best if you, the driver, assume the responsibility for the more critical duties like gluing the track and changing motors. A bogged track or a bad motor change can lose a race for you, so if it is your job, then you are more in control of your own fate, rather then it resting on the shoulders of your partner.
If, however, your partner is an ace pit man, you may want him to handle the critical jobs while you assist and learn. Take inventory of your combined talents and utilize each other’s strong points as much as possible.
When the moment of truth arrives and you’re up to race, track down your partner and let him know you’re up, and grab your car, controller, choke (if needed), and your wits, and head for the drivers panel. Check with your partner on the availability of his controller in the event of an emergency (unless you have a spare) and be sure your Unger is plugged in. Load up your apron or pockets with on hand supplies (Allen wrench, tire traction, rag, pins, braid). I usually tape some spare braid and pins to my shirt. This is not only very accessible in an emergency, but looks real suave later when you’re out for pizza and suds.
Glue your lane and get some practice laps while dialing in the glue and your car. When you’re satisfied, park it! Pre-race practice traffic can be treacherous!
I’m not going to attempt to cover driving in this article, as that’s a whole topic in itself, but basically, if you drive as clean a race as possible and avoid ricocheting off of foreign objects (walls, cars, etc.), you’ll not only increase your odds of finishing the race in a decent position (or at all), but will avoid putting yourself and your partner through unnecessary agony.
Pit stop by 2013 World Champion Brad Friesner
during the 2013 USRA Nats at Slot-Cars-R-Us “The Track” in White House Tennessee.
Video by Mr GoFast – Go Fast Products
As soon as the power shuts off at the end of the heat, your precisely planned pit stop can take action. You change your controller quickly to the next lane and proceed to glue the track while your partner brings your car to the pits and begins working on it. First of all, the stickers are changed and the braid is brushed or replaced. Oil and braid juice can be applied and by then you should have arrived to check over the car for any possible damage and make the necessary repairs. Barring any major repairs, you should have time to have a sip of pop and walk calmly back to the drivers panel while your partner returns your car to the track.
A motor change is a little more hectic but can be done comfortably during a three minute break if you have good teamwork. Before the end of the heat let your partner know you’re planning to change motors and he can prepare the pits with the proper tools laid out. The new motor should be broken in previously and be oiled, pre-tinned and have flux applied.
Pit Stop by Paul “Beuf” Pedersen during the 2013 USRA Nats
during the 2013 USRA Nats at Slot-Cars-R-Us “The Track” in White House Tennessee.
Video by Mr GoFast – Go Fast Products
As the power goes off, your partner can get the car and remove the body immediately and change the braid while you’re moving your controller and on the way to the pits. When you get there you can begin while your partner changes the stickers and hands you tools, much like a doctor and nurse in surgery.
First remove the lead wires and then the old motor. Clean off the excess solder from the chassis and put the new motor in place in the chassis on the block. Be sure the guide and tires aren’t touching so that it rests perfectly flat. I use a piece of paper between the spur and pinion gears; this assures a good gear mesh while merely jamming the motor back against the gear during soldering. Be sure the motor isn’t touching the axle!
Tack the motor at the can bearing end and flip the chassis over, checking the mesh, and solder the back side to the rear brace. Allow it to cool and resolder the bearing end from the bottom. Flip it over and solder on the lead wires with rosin core solder. Don’t get them backwards!!! Now you can glue the track on your way back to the drivers panel while your partner puts on the body and returns it to the track.
Another method is to have your partner remove the motor while you glue the track, and then you can either play nurse or take over as doctor when you get there. Any way you work it, the key is to make it so that you are both busy and not waiting on each other. And above all, experience is the best teacher!
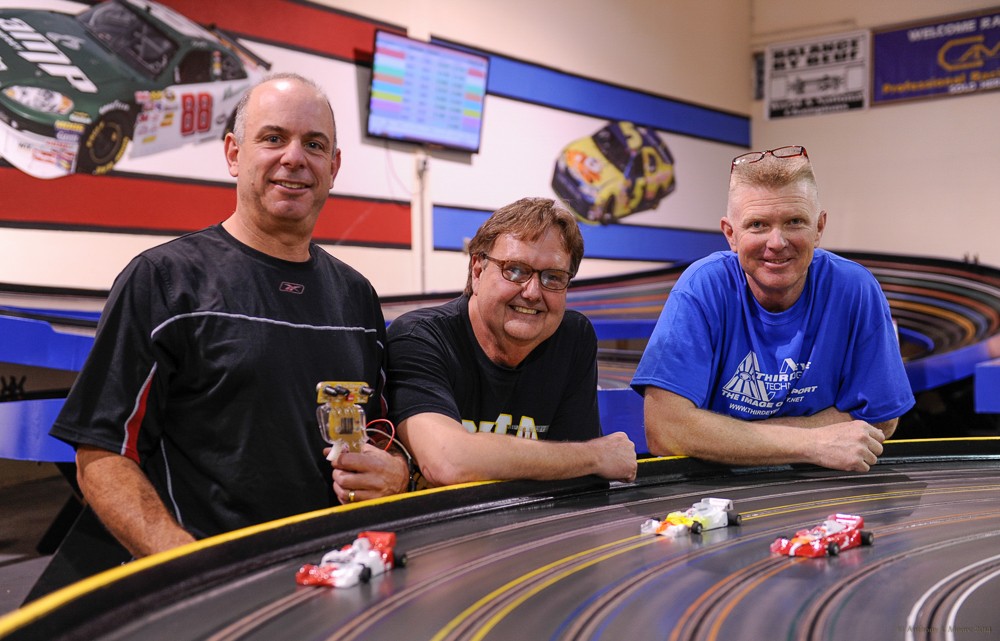
If all goes well, you should be able to celebrate a job well done, rather than drowning your sorrows, when the race is over. I’ll take a nice big pizza over Maalox any day!!!
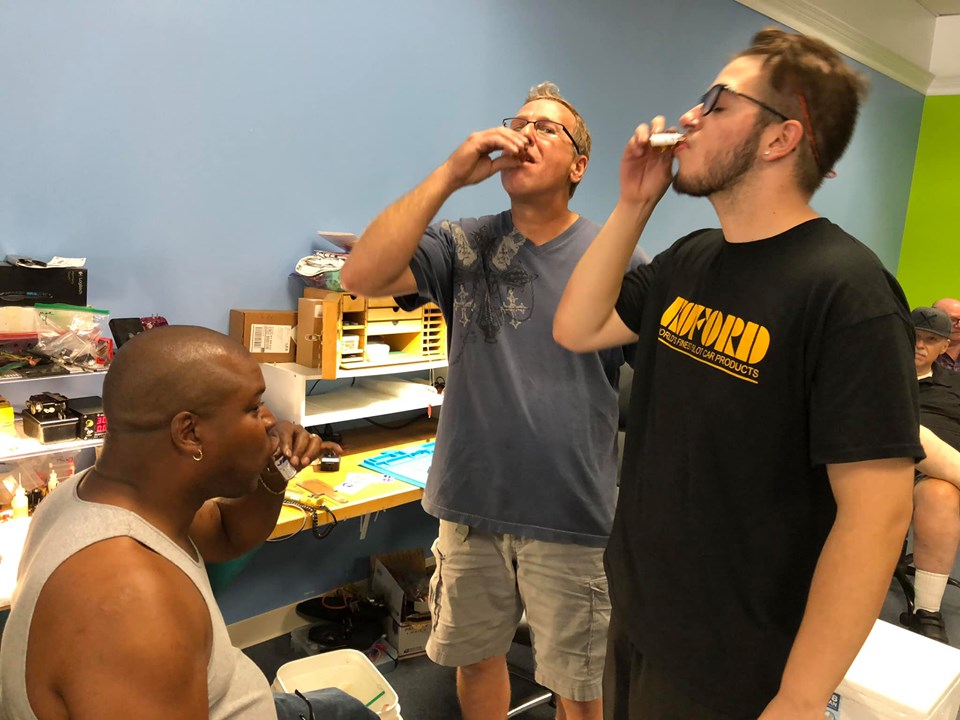
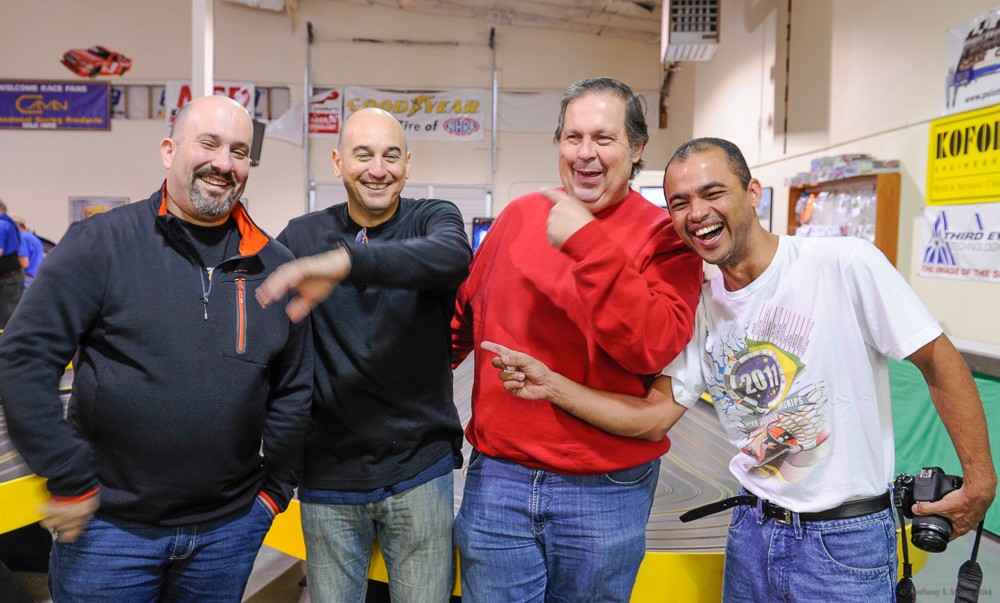
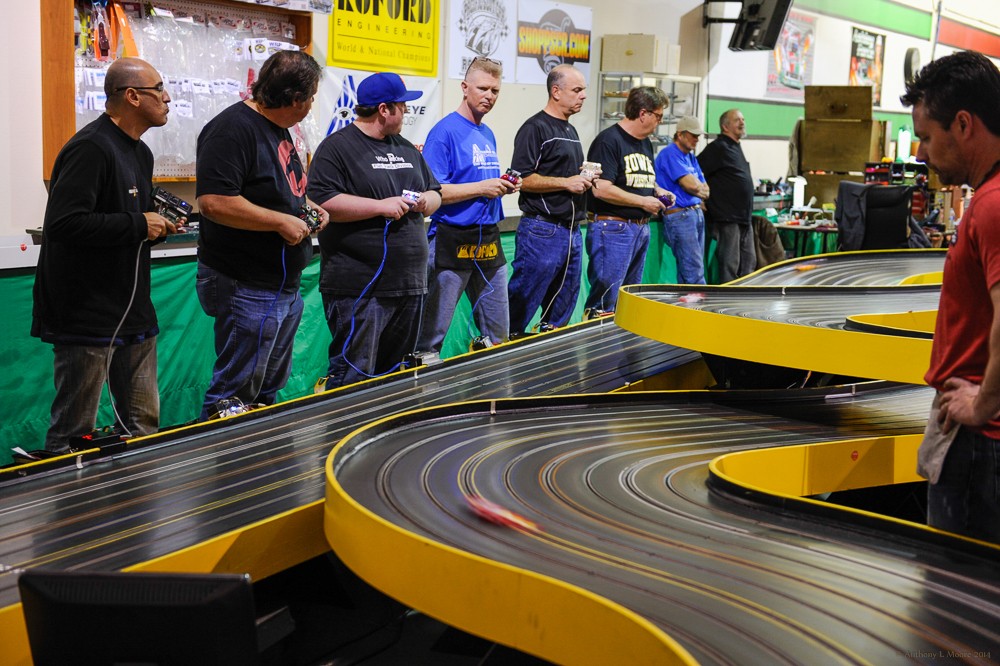
Happy racers by the Brazillions – at the 2014 USRA Div 2 Nats at Pacific Slot Car Raceways in Edgewood WA. Photo by Tony Moore

