
|
The First Slot Car Big Mag “How To”
by Josh Bauer
First off, you need to have the necessary tools to build a big mag motor. In this “How To”, I will be building a 22 magnet setup. In this first picture, there are all the magnets, shims, concave glue blocks, and the can we will be using.
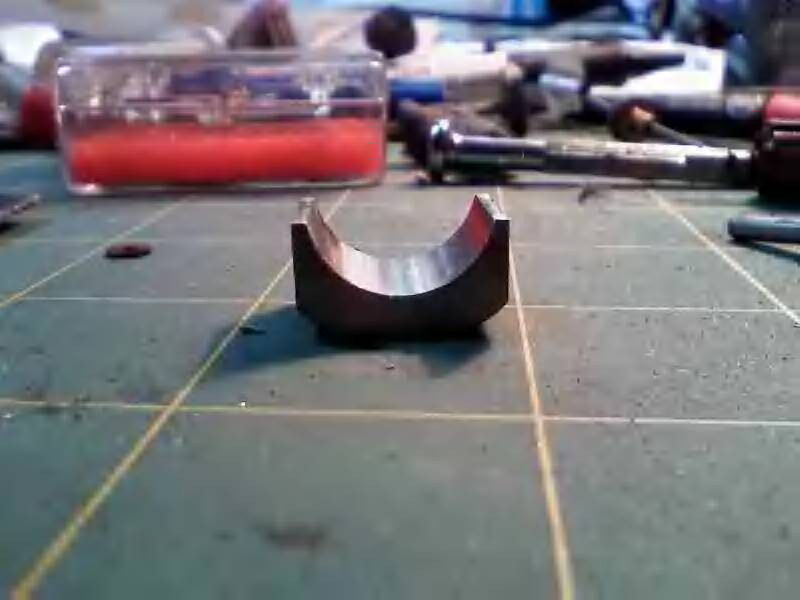
Here is a better look at the gluing blocks. It is approx .683ish ID, the same ID of the Koford Can I will be using. Before the Magnets are set into the block, a piece of Scotch Tape will act as a “liner” between the steel of the block, and the magnets themselves. This is to insure that the magnets aren’t accidentally glued to the steel.
The shims that will be used to keep the magnets straight and even while baking.
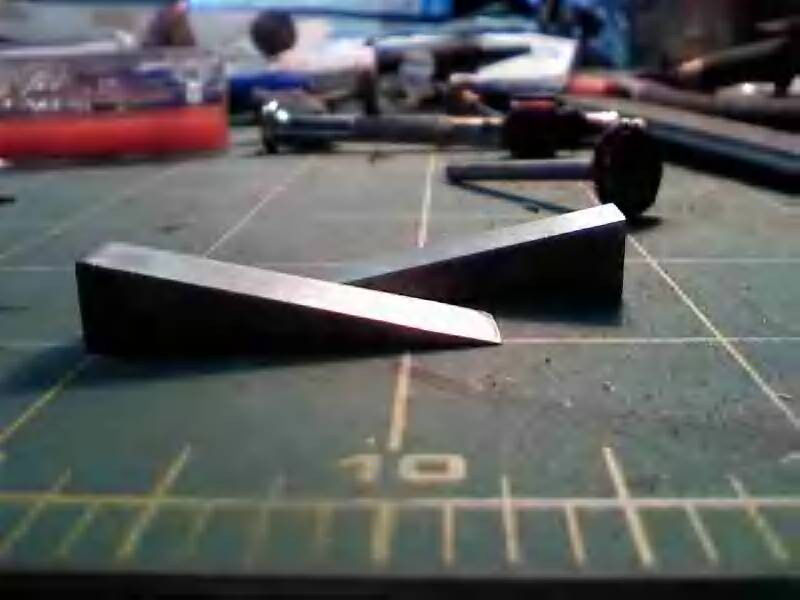
Here is some segments in the block, as well as a segment sitting on a file. The reason for the filing is to deburr the magnets, and give a smooth finish to the 3 sides. Reason for this allows for a tighter fit of magnets, and allows the magnets to seat better inside the glue block.
Once all the magnets are filed down, they are cleaned up using magnet putty to remove all small particles of cobalt. The inside of the magnet is not filed down, as it will be honed later on, and it pointless to clean. In this picture, I staggered the magnets so you can see all the segments.
Now that both sides have have been filed and cleaned, they are all ready to be glued together.
Here is a final look at the inside of the magnets before the glue is applied.
Everyone who builds cobalt setups has a different philosophy in regards to gluing segments together. I believe that glue in between the segments is pointless. The amount of glue in between the magnets is so minuscule that if you’re going to knock a magnet out, that glue won’t stop it from coming apart. With this being said, I mix up some good ‘ole fashioned JB Weld and set it on the face of the magnets. This will keep the back side of the magnets clean and flush for a better fit. A trick to clean up the JB Weld in case it gets on the outside of the magnet, etc, is a Q-tip with saliva. There is absolutely nothing better to clean up mixed JB Weld better then this. It works perfectly and cleanly every time.

Now off to the oven… 12 minutes at 200* hardens the JB Weld enough to finish this setup.
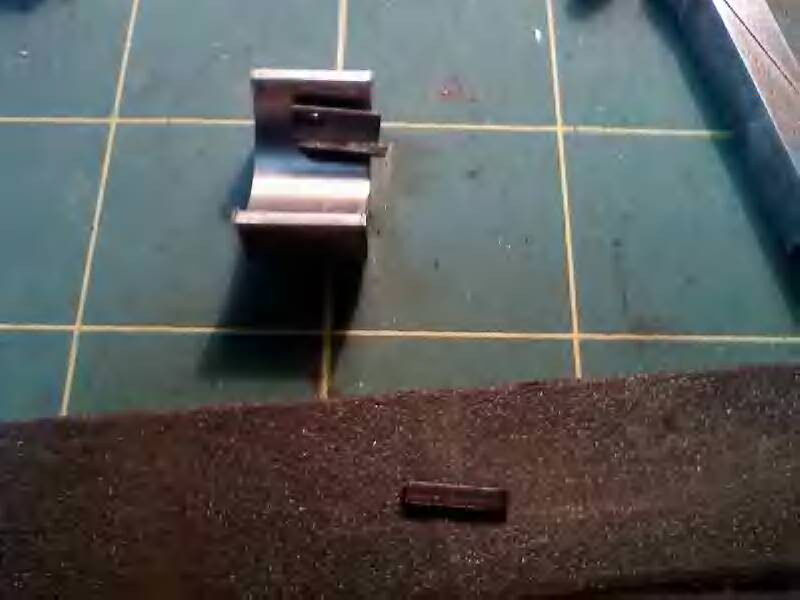
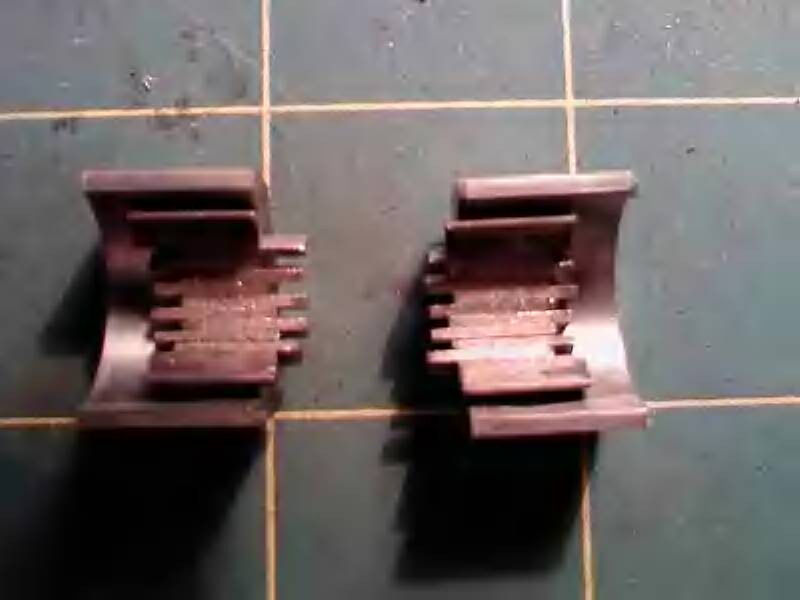
Glue is now cured, and here are the solid sides stuck to a slug.
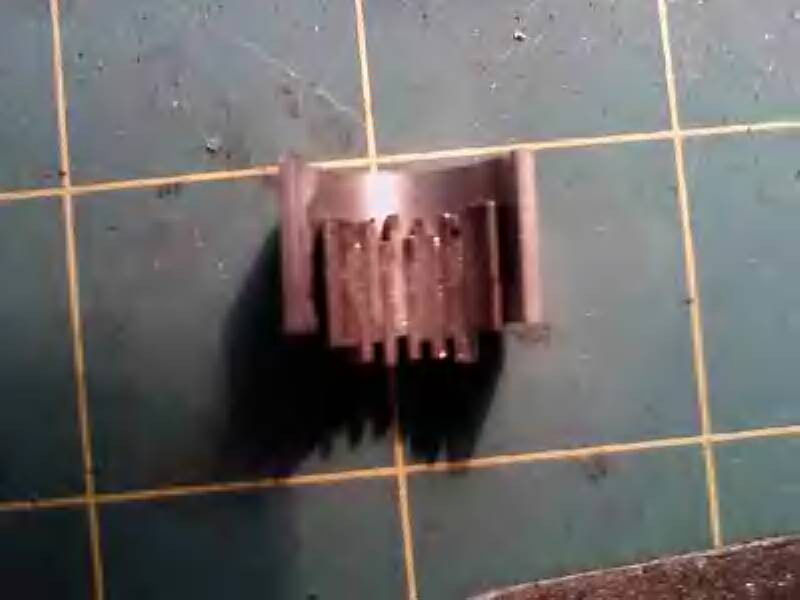
Here is just a single side. Now that all 11 mags are bonded together, it is very simple to work with.

Next step is to prep the can for glue. To do this, I take a diamond bit on the Dremel to the inside of the can to “rough it up” This allows the glue to adhere better to the can, and make a stronger bond.
The epoxy you use to adhere magnets to can is the most important thing in a cobalt motor. The most popular and the best on the market comes from Port Jefferson Raceway, and it’s called Skinner’s Epoxy.

Here you can see the backsides of the magnets and the insides of the can have been given a thin layer of Epoxy. This will be air dried for about 20 min. This will allow the setting of the magnets to be done much easier.

Now that the glue is ready for bonding, the magnets are set into the can, and the shims are put into place to keep the magnets completely parallel and straight.
A trick I picked up doing this to help keep the magnets in place while baking, is to put some super glue on the exposed part of the magnets and the can. This will help keep the magnets in the proper position while undergoing baking.
For baking procedures, I differ from what the Skinner Epoxy recommends, as I have found my way to be a little bit stronger, and also easier at the same time. It will be baked for approx 47 min at 350*.

Now that the epoxy is cured, its time to clean up the can of the excess epoxy and super glue. An Xacto knife and some patience does the trick very nicely. While cleaning the can, the end bell bearing got a little JB weld on it and was placed into the end bell. This will be baked for 12 minutes @ 200*.
The can bearing is installed while the end bell is cooling off. Silver solder is the choice for holding the bearing in.
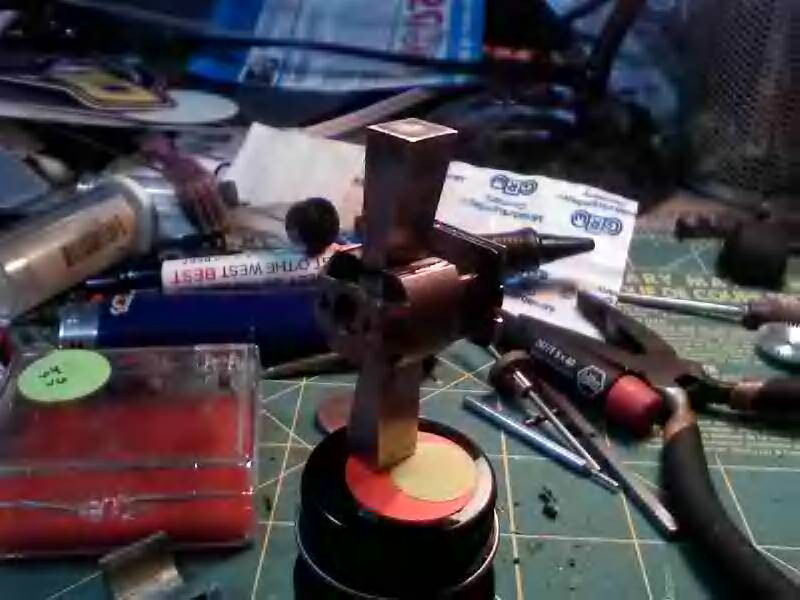
Once the endbell is ready, it’s time to hone out the setup. For this particular setup, I will hone the setup out to 0.492.
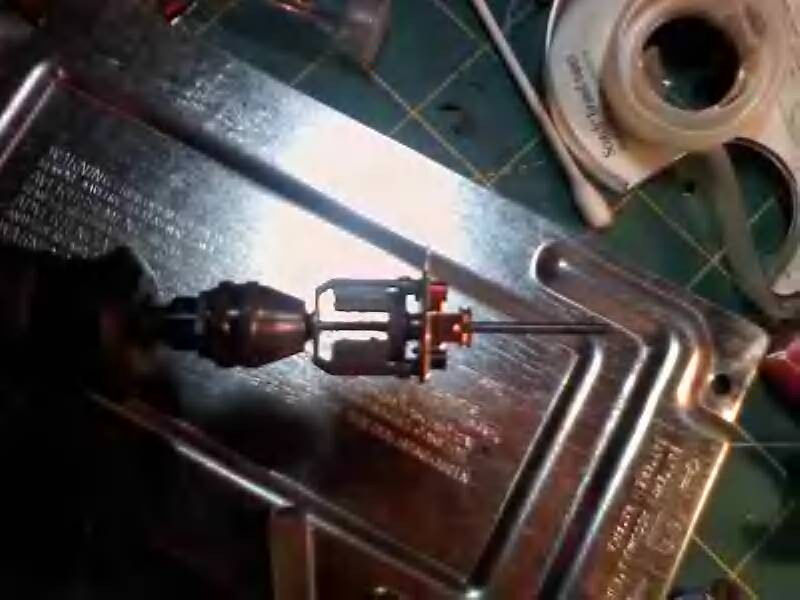
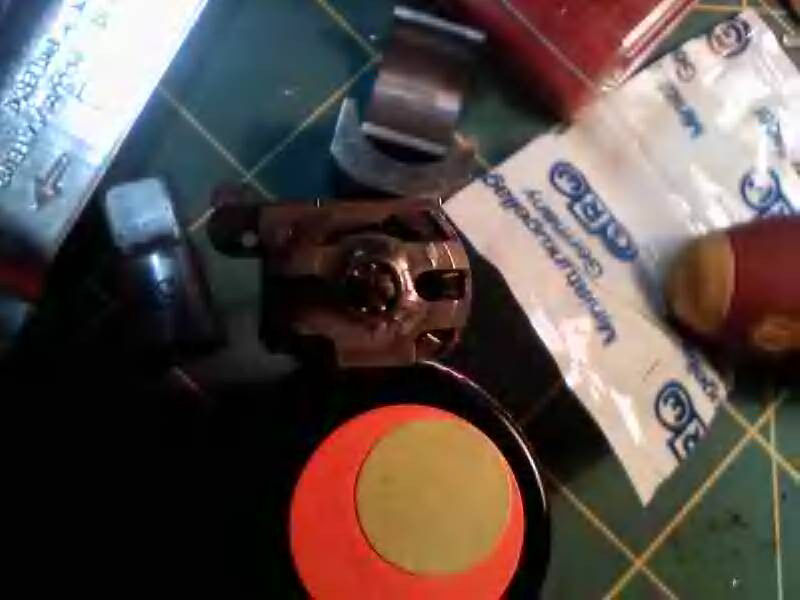
Finally, the finished product. The 22 Magnet setup is all ready to be zapped, and then raced!
Hope this was very helpful to all you guys, and proves that building a big mag motor isn’t that difficult at all! If anyone has any questions, comments, etc, feel free to chime in!
by Josh Bauer